Tips for Private Events with Credits Attached
Last updated: September 18, 2026
If you're running an online Education or Training course, there are a few things you'll want to consider. Here are some tips for setting up a private virtual event that will save your members from panicking on virtual event day!
Getting Started
If you haven't set up an event with a private event link before, check out this article to learn about this process: 📄 Private Virtual Links for Events & Education Classes
Then head back here to check out these tips!
Tips & Tricks
#1 Lock down tickets to logged-in users
This is the easiest way to make sure everyone that is registering for the private event has a user account attached to their registration on the backend. This is critical to making sure that the attendees get credit.
→ Learn More: 📄 How to Require Users to Login for Event Registrations
Locking down this ticket doesn't restrict the purchaser from adding multiple registrations. This means that they could register an attendee and not connect it to a record in your database. You can manage those unlinked registrations, however; read on below.
#2 Make sure everyone is connected to a record in the Novi Database
In order to automatically receive credit for their course, attendees will need to login and use their individual link. Check your attendees' tab to make sure everyone is connected to a record in the Novi database.
What if they aren't connected?
Edit the registration and attach it to an existing record or create a new one.
Send those attendees a password reset and let them know you've created an account for them in the system.
#3 Create a video or blog post showing your members how to log in!
Let's see that creativity! Make a quick video or blog post explaining how to log in to your website. Then add that video to the event page.
→ Learn More: 📄 Adding and Formatting Videos on Your Novi Website
#4 Add Reminders to Event & Ticket Details!
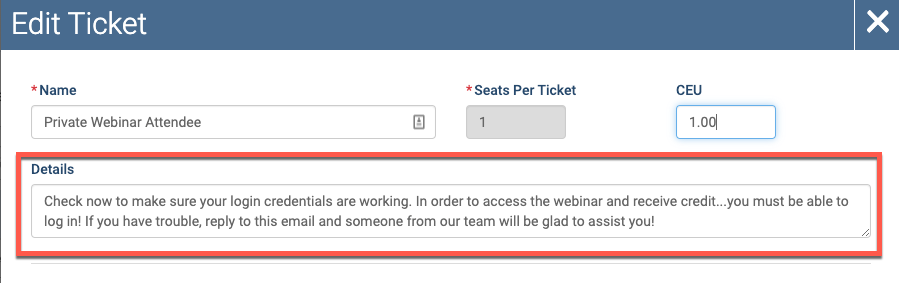
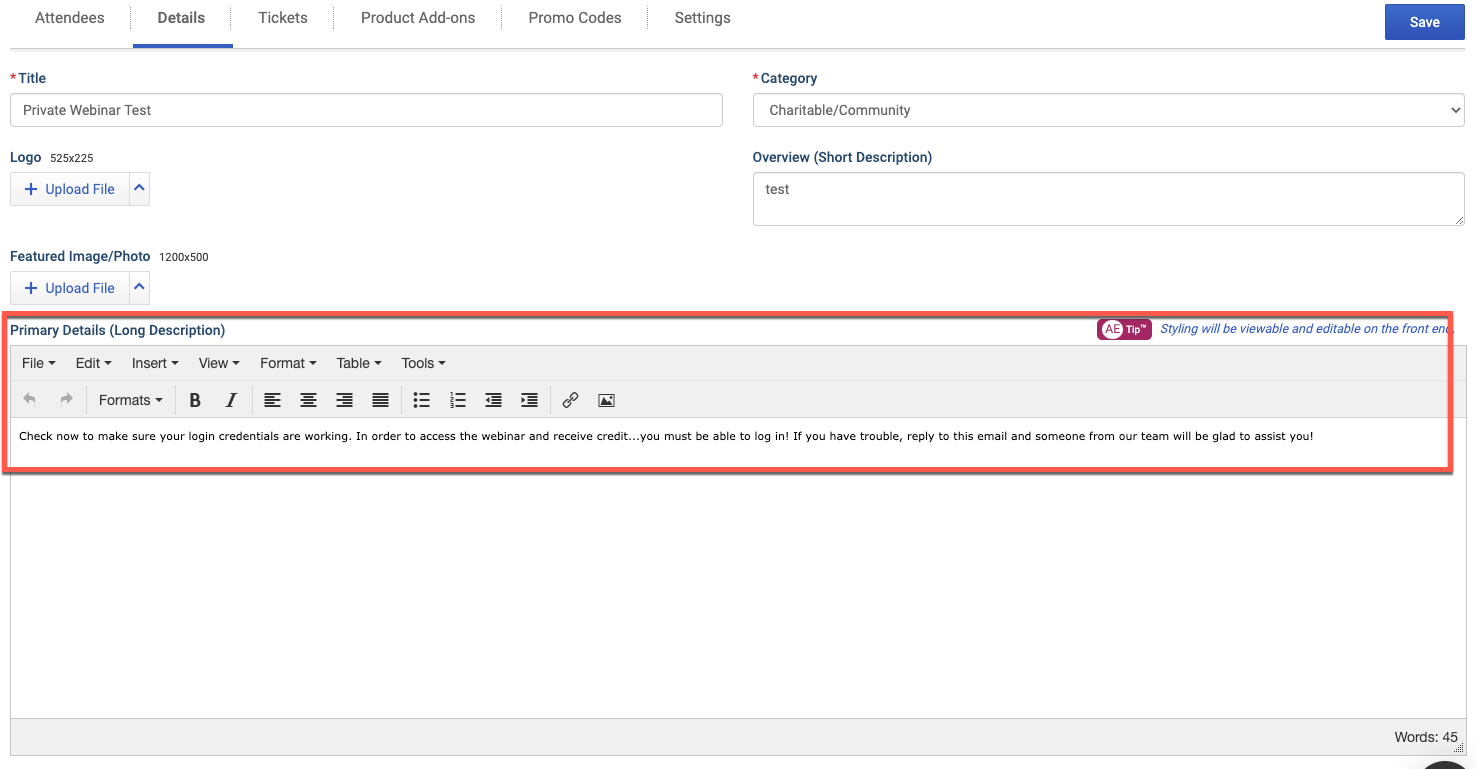
Add a reminder that attendees will need to login in order to get credit for the event and to access the recording.
There are a few potential places you can add this messaging:
Ticket Confirmation Email Information
Ticket Details
Event Primary Details
Post Registration Message
Examples of each type are below:
1. Ticket Confirmation Email Information

2. Ticket Details
3. Event Primary Details
4. Post Registration Message
