Custom Invoices and Sales Receipts in Novi
Last updated: October 8, 2026
Create one-off transactions that fall outside events, ecommerce, and dues.
Use a custom invoice or sales receipt for charges that don’t fit Novi’s standard billing flows, such as a one-time fee or a miscellaneous charge. For everything else, use the event, ecommerce, or dues workflows so your reporting stays clean and accurate.
Who can use this
Only users with the Association Admin with Special Accounting Privileges role can create and manage custom transactions.
Create a custom invoice or sales receipt
You can start a custom transaction in two places:
From anywhere in Novi: Select the + button at the top of the screen.
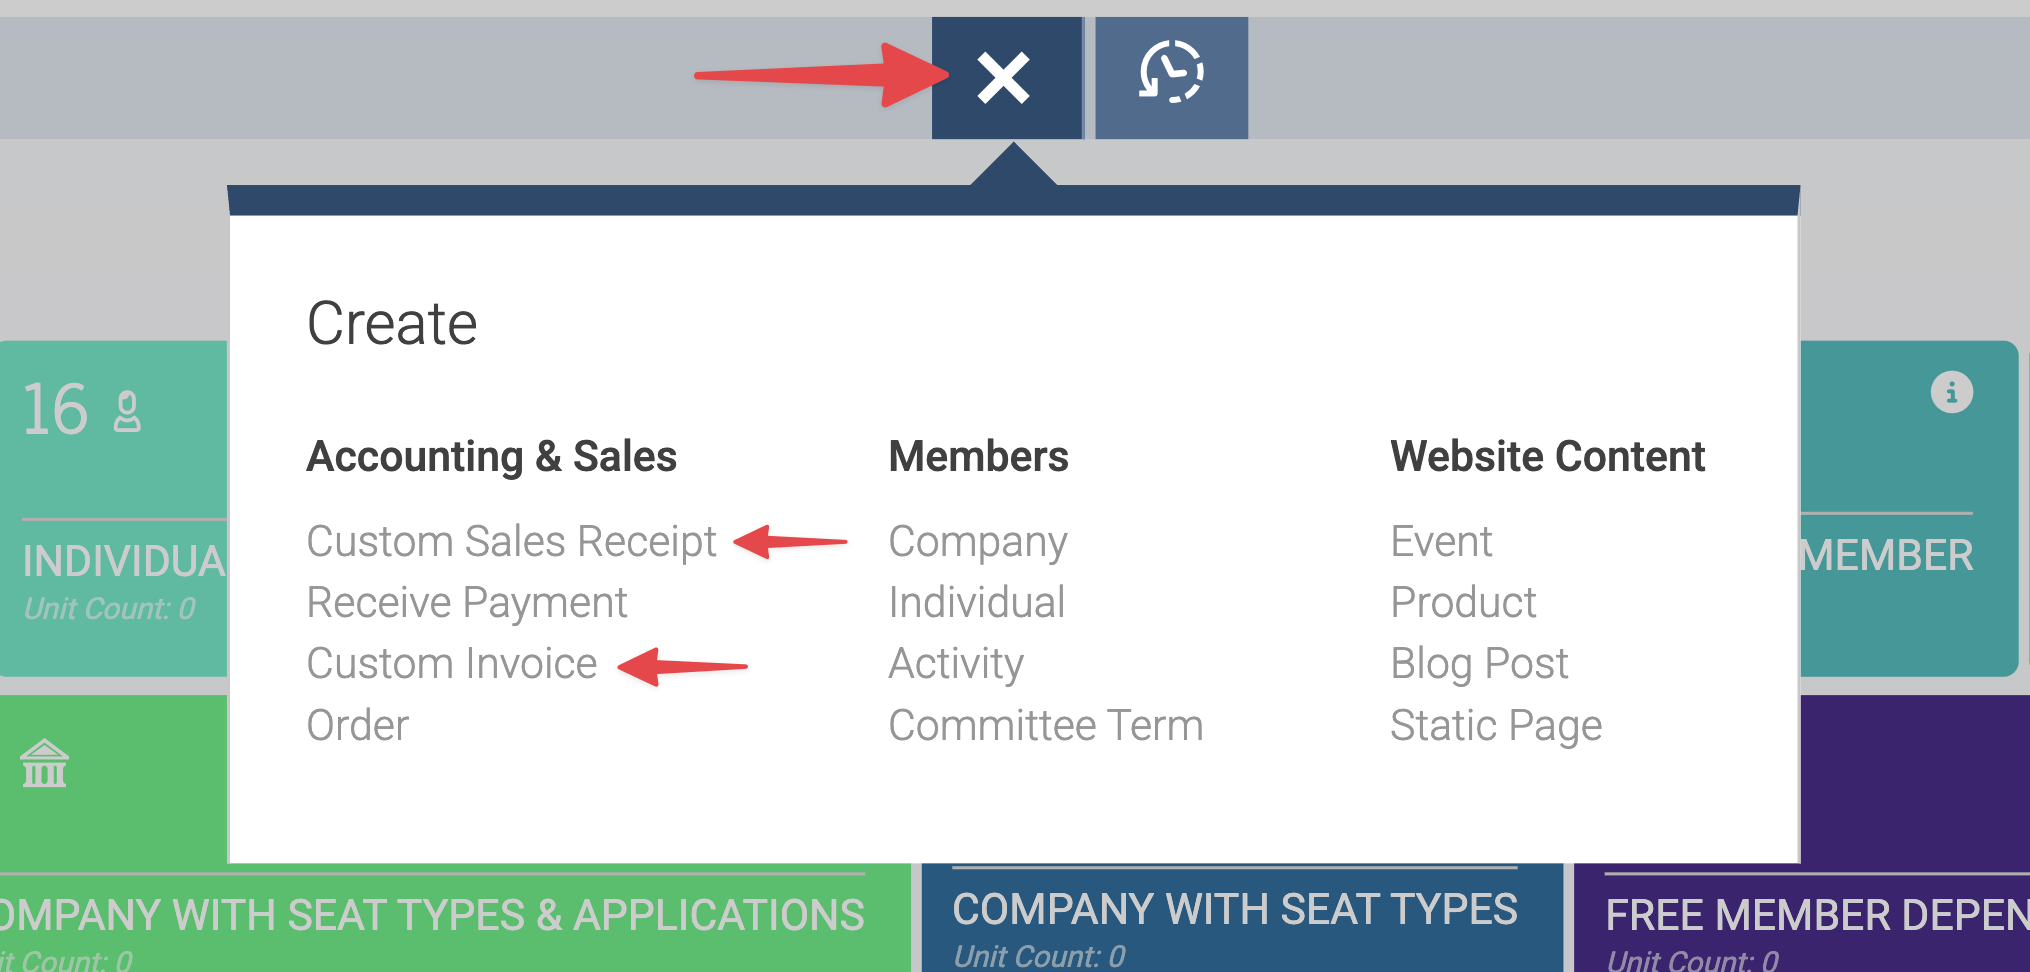
From a member record: Open the member’s record and select the New dropdown on the right.

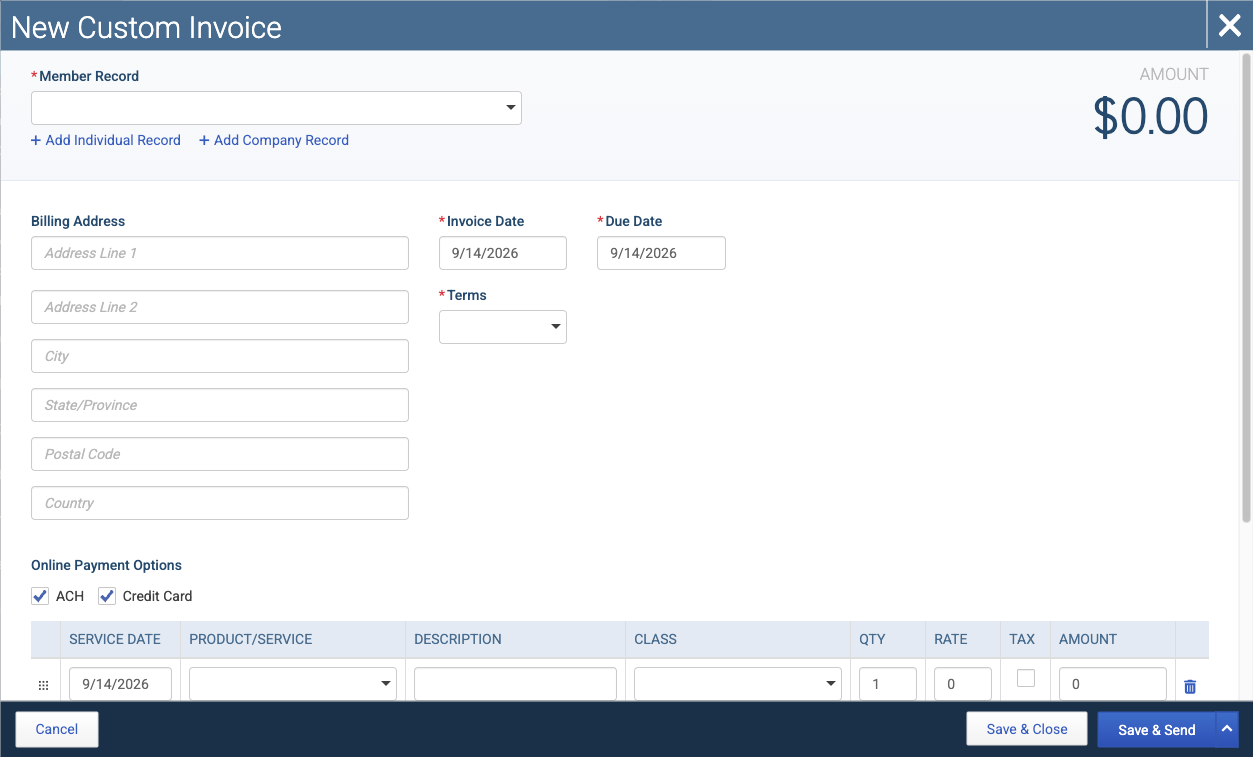
Then complete the form:
Enter the transaction details. Dropdown values such as Items, Departments, and Classes sync directly from your QuickBooks Online account.
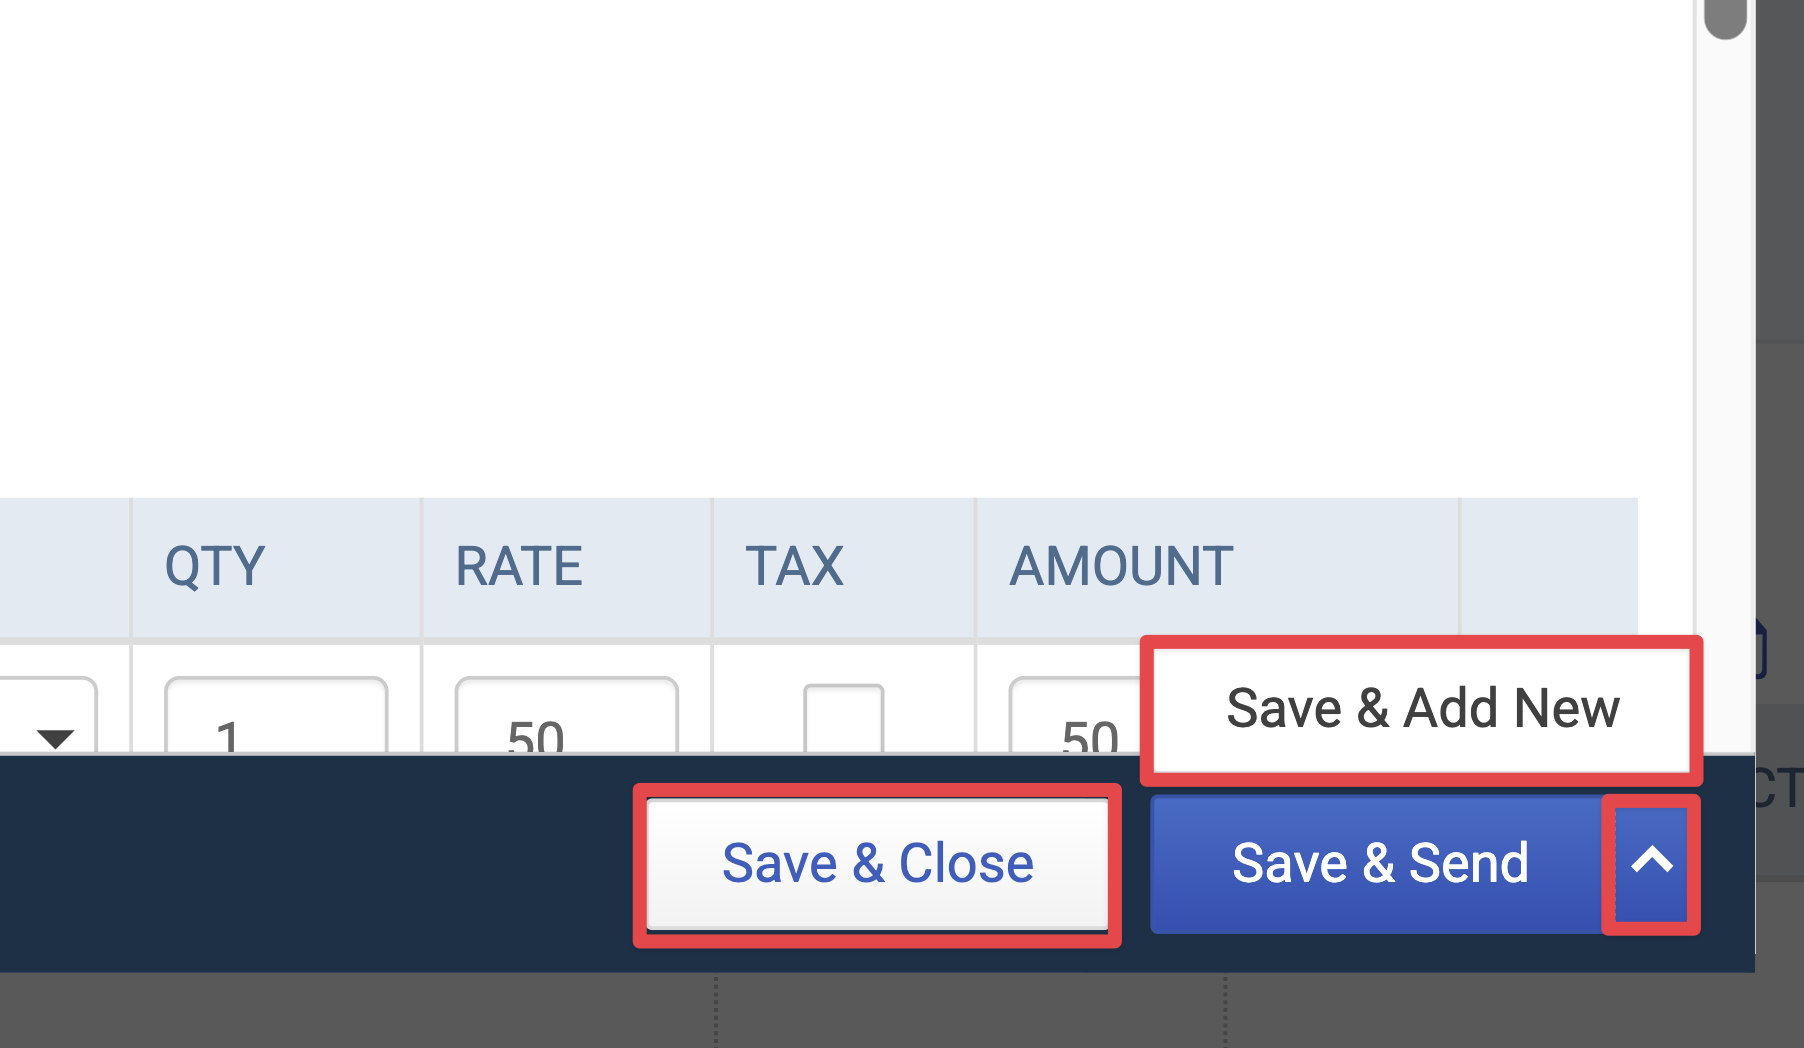
Choose how to save:
Save & Close saves the transaction without sending it.
Save & Add New saves the transaction and opens a blank form. Find it by selecting the arrow next to the Save button.
Save & Send saves the transaction and opens the send window.
If you chose Save & Send, review the recipients and email body in the send window, then send.
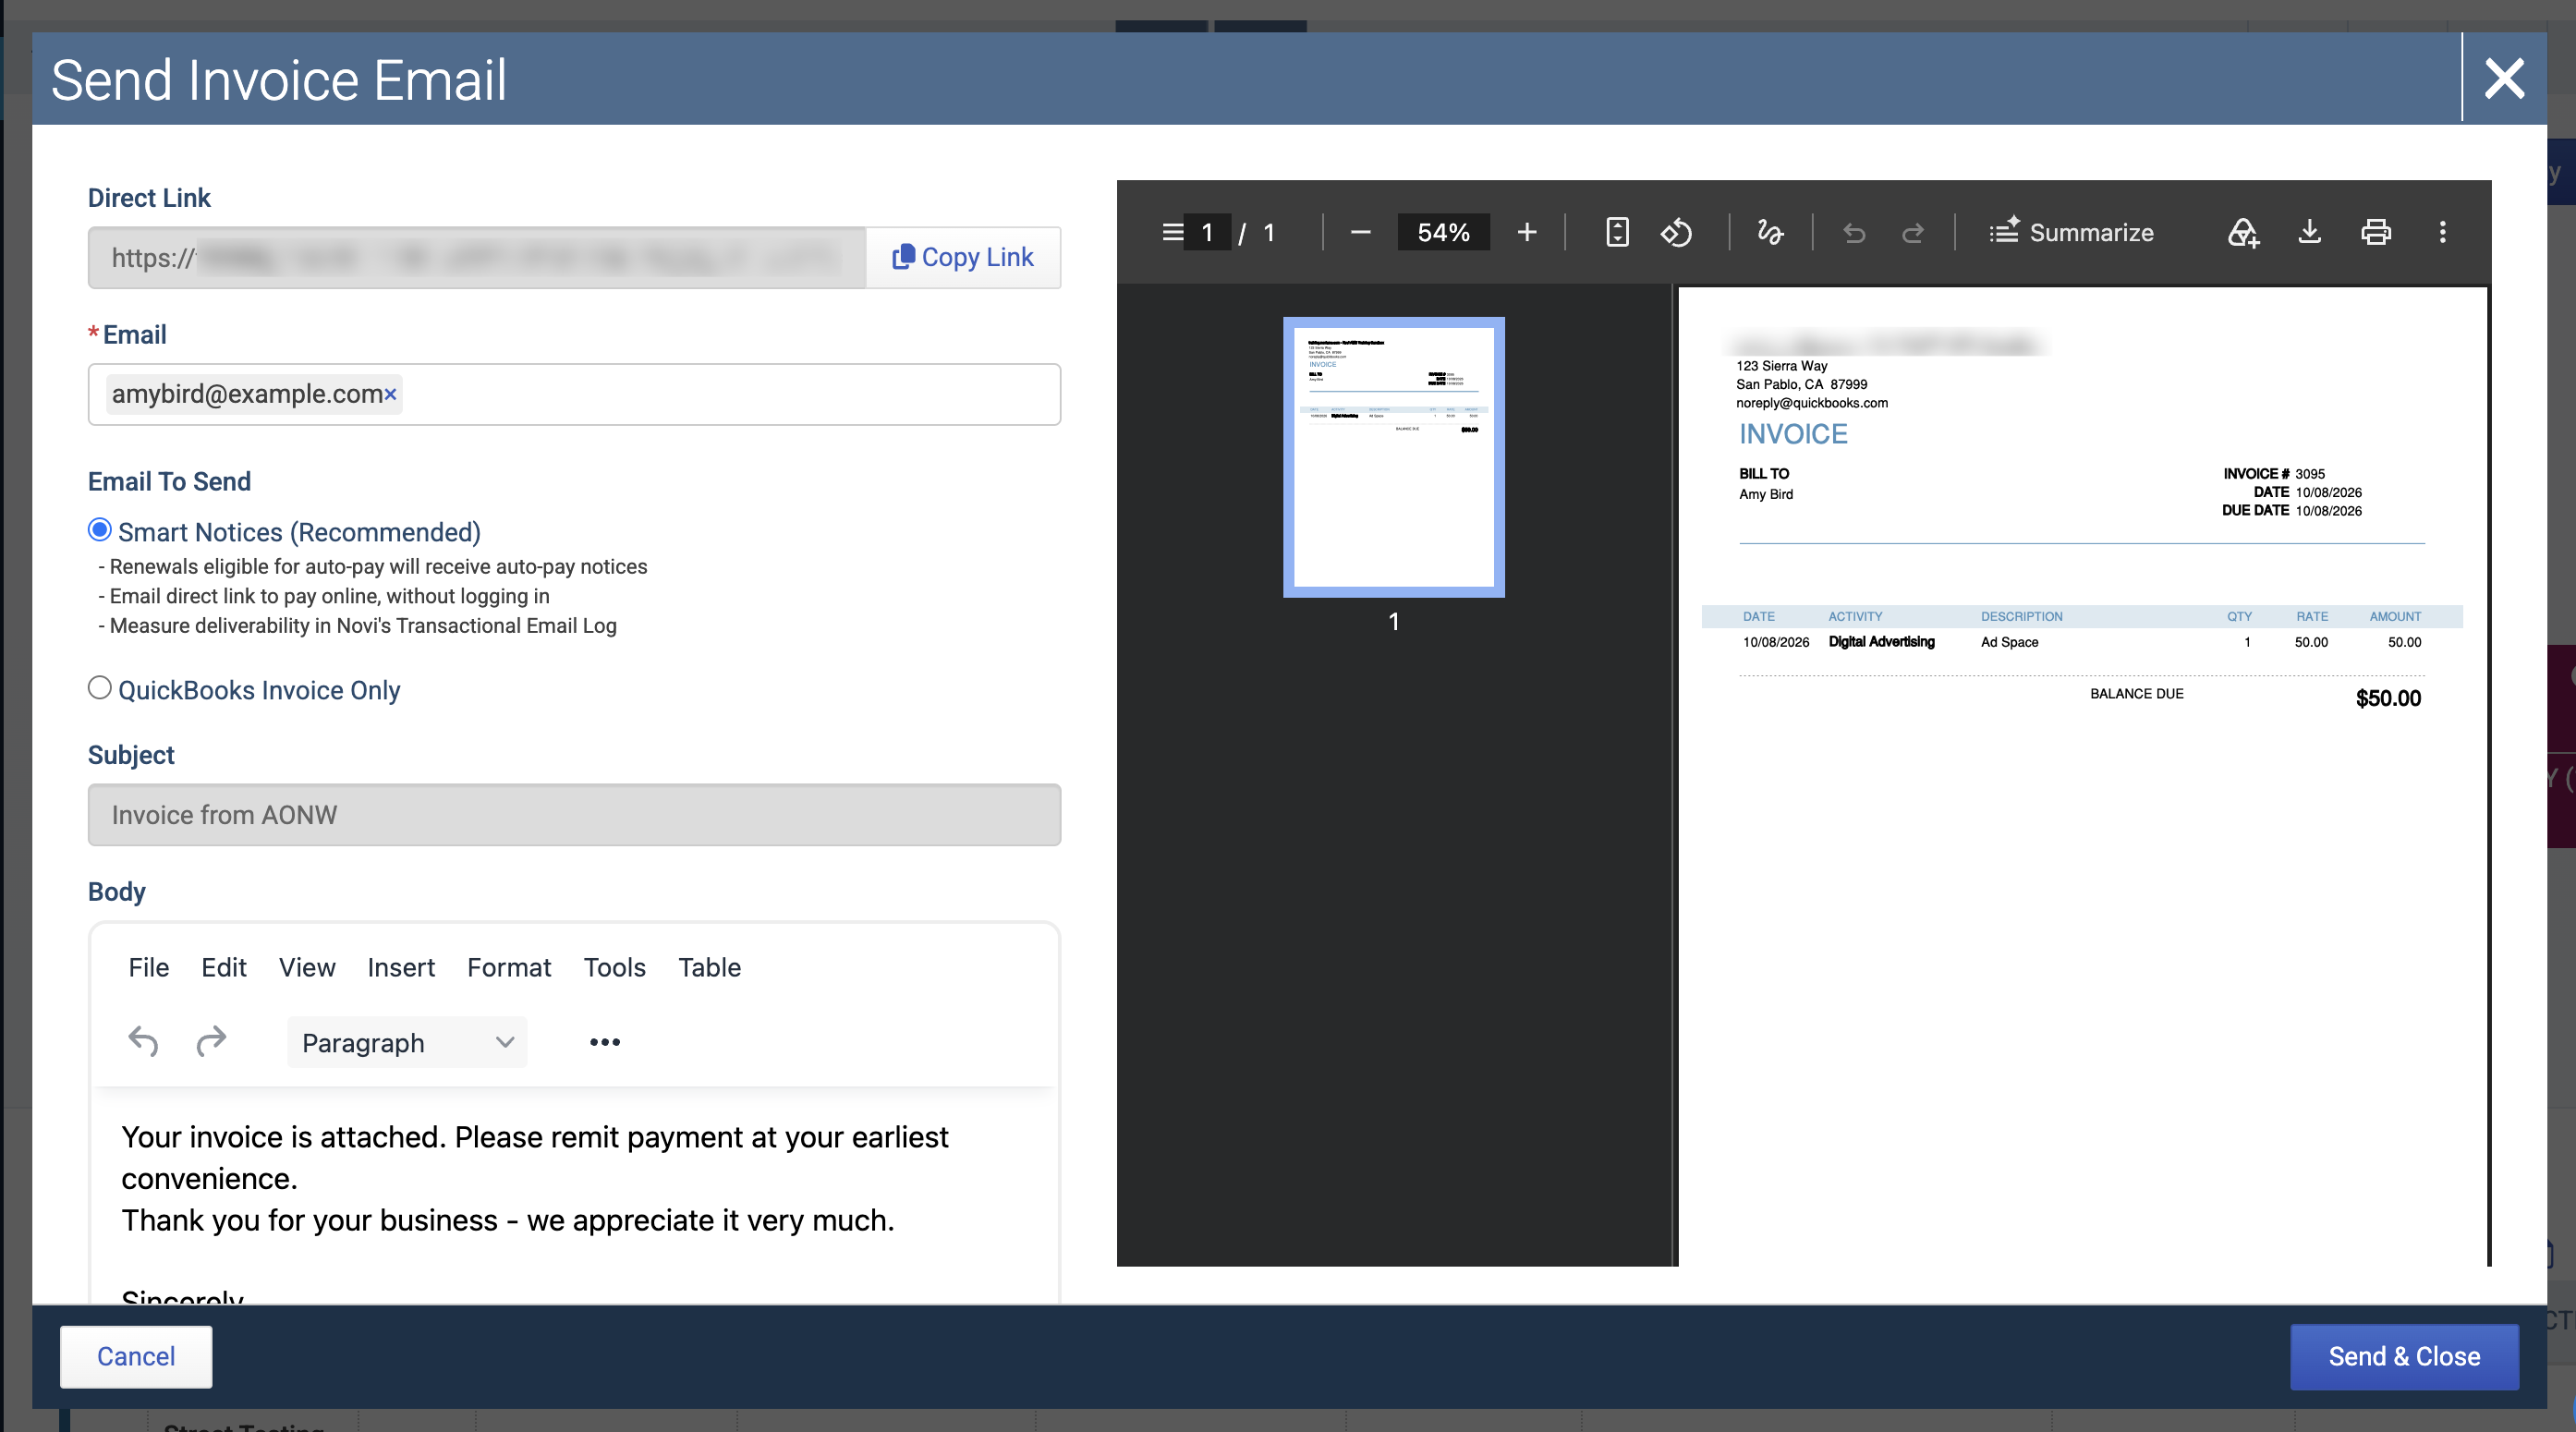
Note: Recipients are managed in the send window, not on the transaction form. Novi uses the member’s current billing contact at the time you send. You can adjust recipients for that one send without changing the member’s billing contact.
Using event or ecommerce items: If you select an item that’s tied to an event or ecommerce product, Novi shows a warning. You can still save the transaction, but we recommend processing those charges through their intended workflow so revenue reports correctly.
Add service dates
To add a service date to each line item, first turn on service dates in QuickBooks Online:
In QuickBooks Online, select the gear icon.
Go to Account and Settings > Sales.
Turn on Service date.
Once enabled, a service date field appears to the left of each line item on custom invoices and sales receipts. It defaults to the transaction date, and you can change it as needed.

Before you change a service date:
Dues invoices: The service date should be the first day of the membership term being billed.
Closed accounting periods: If the service date falls in a period that’s closed in QuickBooks Online, saving may fail.
Edit an invoice
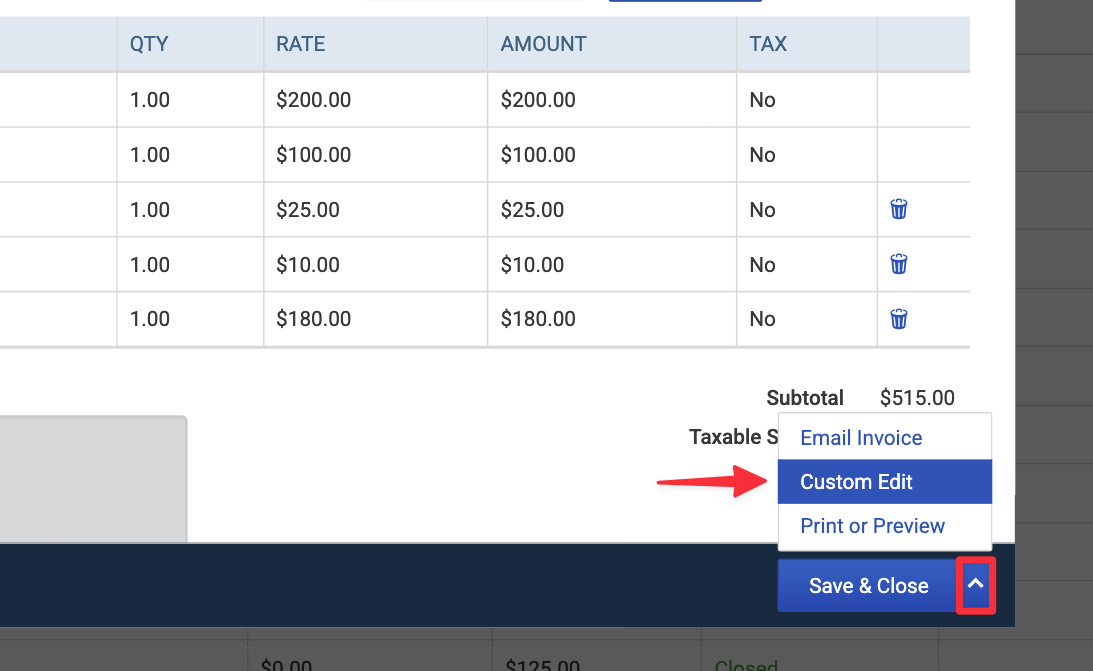
You can edit any unpaid invoice, including custom, dues, event, and QuickBooks invoices. Open the invoice, select the arrow next to Email Invoice, then select Custom Edit.
Exception: Rolled-up invoices, where multiple people are billed together under a parent account, can’t be edited.
Edit a sales receipt
Because sales receipts are already paid, editing is limited by payment method:
Payment method | Can you edit? |
|---|---|
Check or cash | Yes |
Credit card, debit card, or ACH | No, the transaction is locked |